
Getting started#
This chapter helps you become familiar with GUI Guider and start working productively. If you are using GUI Guider for the first time, this chapter is the recommended starting point.
The sections below provide an overview of the basic requirements, the installation process, and the first-use workflow. The goal is to help you progress from tool installation to a working project with minimal setup time.
System requirements#
GUI Guider is designed for use with LVGL 9.4.0 and aligned with MCUXpresso SDK.
Host OS#
GUI Guider is supported on the following host operating systems:
Windows 11 (64-bit) or later
Ubuntu 24.04 or later
macOS 26.5.1 or later on Apple silicon (M-series) devices
Target compiler#
The following target compilers and software environments are supported:
MCUXpresso IDE 25.6
Keil MDK 5.42
ARMGCC 14.2.1
IAR 9.60.4
MCUXpresso for VS Code 26.2.46
Linux BSP 6.18.2-1.0.0
Hardware requirements for LVGL applications#
Any modern controller capable of driving a display is suitable for running LVGL. The minimum hardware requirements are as follows:
A 16-bit, 32-bit, or 64-bit microcontroller or processor.
A clock speed of at least 16 MHz is recommended.
Flash/ROM: More than 64 KB for the essential components; more than 180 KB is recommended.
RAM:
Static RAM usage: Approximately 2 KB, depending on the features and object types used.
Stack: More than 2 KB; more than 8 KB is recommended.
Dynamic memory (heap): More than 4 KB; more than 32 KB is recommended when several objects are used.
Display buffer: At least one horizontal-resolution worth of pixels; ten times the horizontal resolution is recommended.
One frame buffer, either in the MCU or in an external display controller.
Basic C or C++ knowledge, including pointers, structures, and callbacks.
Note: Actual memory usage can vary depending on the target architecture, compiler, and build options.
Installation#
This section describes the recommended installation flow for GUI Guider on the supported host operating systems. After installation, verify that the application starts correctly and that the required templates and dependencies are available.
Windows 11#
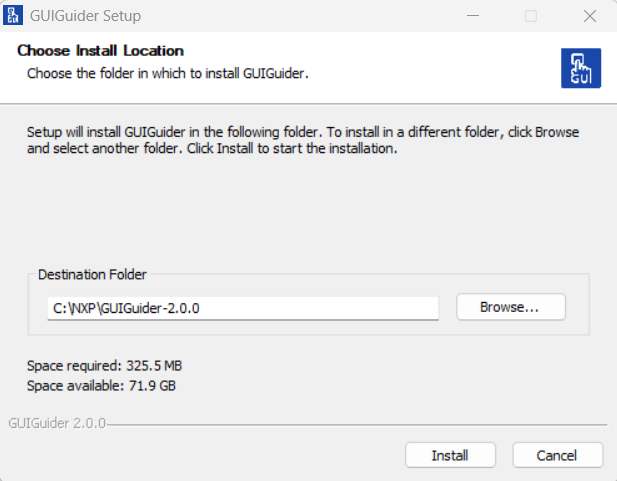
To install GUI Guider on Windows 11, download the installer from www.nxp.com/gui-guider and run the setup.exe package.
During installation, select an installation directory that follows your local development environment policy.
Ubuntu 24.04#
To install GUI Guider on Ubuntu 24.04, use the provided Debian package:
$ sudo apt install ./GUIGuider-2.0.0-amd64.deb
After installation, verify that all required runtime dependencies are available and that the application can be launched successfully.
macOS#
To install GUI Guider on macOS, perform the following steps:
Install SDL2.
Download and build SDL2 from source:
wget https://github.com/libsdl-org/SDL/releases/download/release-2.30.5/SDL2-2.30.5.tar.gz
tar -zvxf SDL2-2.30.5.tar.gz
cd SDL2-2.30.5
./configure --prefix=/usr/local
sudo make -j && sudo make install
Install CMake.
Run the following command:
brew install cmake
Install GUI Guider.
Download the installer from https://www.nxp.com/gui-guider.
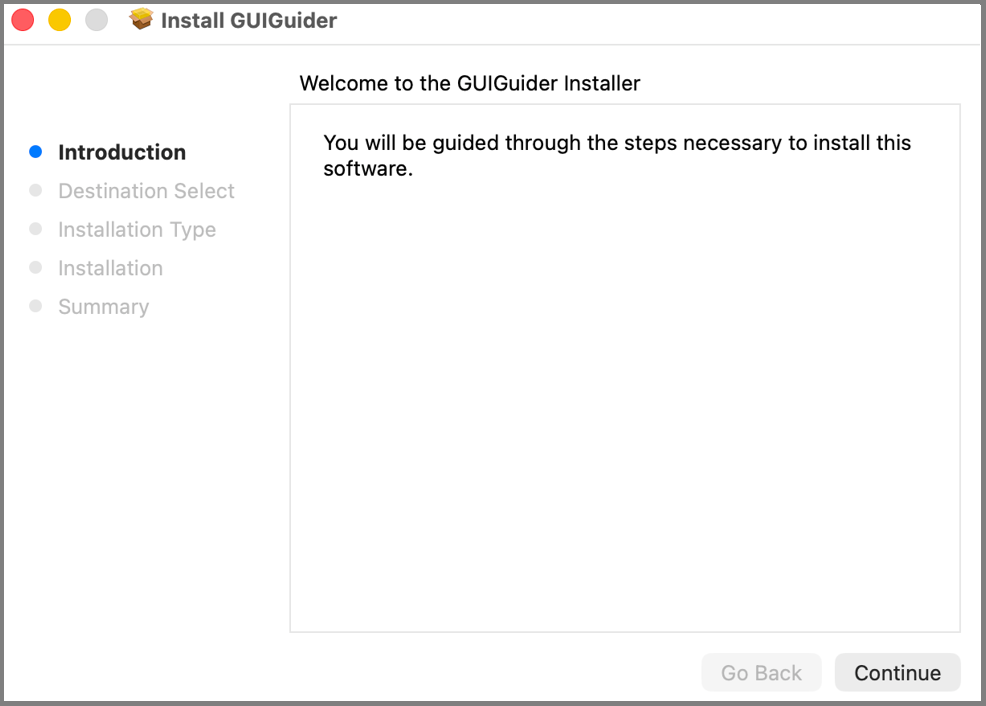
Open the installer package and complete the installation by following the on-screen guidance.
First launch and environment setup#
On first launch, GUI Guider opens to the Home page and initializes its environment from the local configuration store. If no user configuration exists yet, built-in defaults are used; subsequent changes made in Setting are persisted and restored on the next launch.
IDE environment and preferences#
Home page: The entry point of the IDE. Create and Import are available even when no recent projects exist, and the recent-projects area is populated as projects are created or opened.
Project location: Recent projects are tracked by their local file system paths, so the default project location directly affects project creation, reopening, and recent-project behavior. Set the default project location to a writable local directory suitable for long-term storage. If a project folder is later moved or becomes inaccessible, its entry in the recent-projects list is shown as invalid.
Path naming: Avoid spaces and special characters in project and path names. Some SDK toolchains reject them and the build can fail.
Application preferences: Language, theme, picture size, and other preferences set in the Setting page are stored as application-level configuration and persist across sessions.
Template discovery: Application and board templates are discovered at runtime from their expected storage locations. If you use the offline template mode, make sure the extracted package matches the directory layout described in Offline templates so that the templates are detected correctly.
Toolchain environment#
GUI Guider detects the host toolchain environment (for example, MCUXpresso, IAR, Keil, and GCC-based setups) during startup. Required tools must be installed and discoverable from the host’s PATH for detection to succeed. If your toolchain is not detected automatically, add the missing paths in Setting → MCU Toolchain Path for MCU builds, or MPU Yocto Toolchain for Linux/MPU builds.
Because detection is host-aware, readiness may differ across Windows, macOS, and Linux even for the same project. Verify the toolchain configuration on each platform you intend to use.
Offline templates#
If network access is not available, you can install the templates locally by using the offline template package.
To install the offline template, perform the following steps:
Download the appropriate version of the offline template package (typically named guiguider-offline-templates-2.x.x.zip) from the NXP website.
Extract the package on the host machine.
Ensure that the folder name is in English; otherwise, GUI Guider may not be able to detect or load the templates correctly.
In GUI Guider IDE, enable Setting → Offline Template Mode by selecting Yes. Then, set Setting → Offline Template Path to the extracted offline template package root, which contains
meta_history.json,application/,board/,project/, andimages/.Click Create then select the Board and Application to create the project.