
Installation#
This chapter describes the procedure required to install SEC on Windows, MacOS, and Linux operating systems. For the list of supported operating systems, refer to
Minimum system requirements#
The tool runs on Microsoft(R) Windows(R), Ubuntu, and macOS operating systems. The detailed system requirements are specified in MCUXpresso Secure Provisioning Tool Release Notes (document MCUXSPTRN, section System requirements). The document also describes what debug probe drivers should be installed. These drivers might also be needed for communication with the processor in ISP mode where the probe provides USB to UART/SPI/I2C converter.
Windows#
To install SEC as a desktop application on a local host, perform the following steps:
Visit the NXP website to download the SEC installer for Windows.
Double-click the
MCUXpresso_Secure_Provisioning_<version>.exeinstaller to begin installation.On the first page of the wizard, click Next.
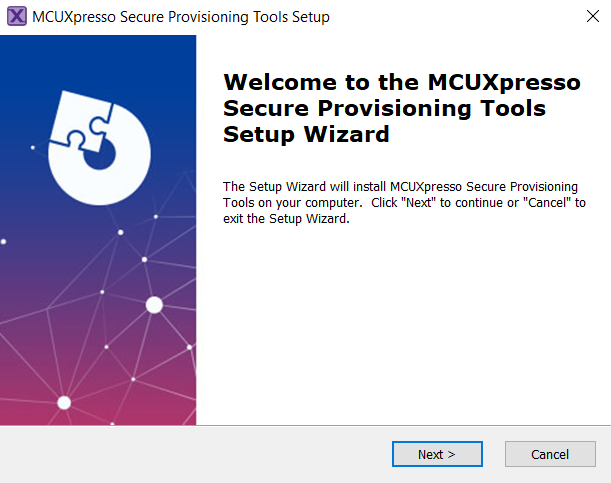
MCUXpresso Secure Provisioning Tool Setup#
On the End-User License Agreement page of the wizard, select I accept the terms of the License Agreement and click Next.
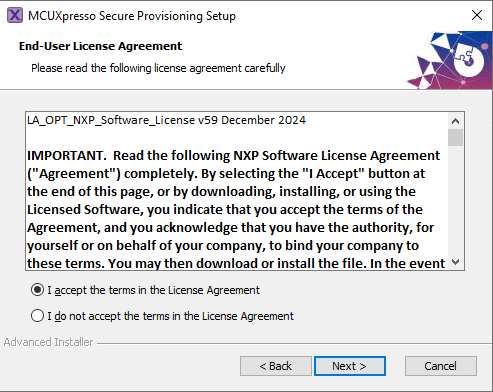
Accepting the end-user license agreement#
On the Select Installation Folder page of the wizard, select Browse and navigate to a destination folder you want to install the SEC to and click Next.
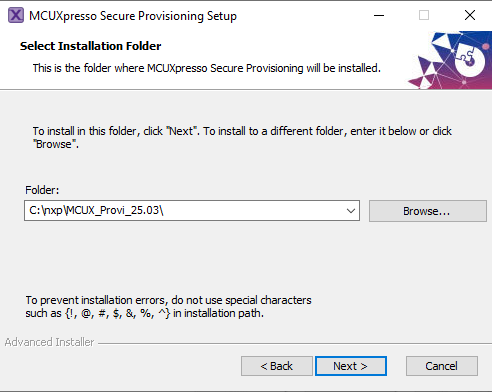
Selecting installation folder#
On the Configure Shortcuts page of the wizard, select shortcuts you want to be created for SEC and click Next.
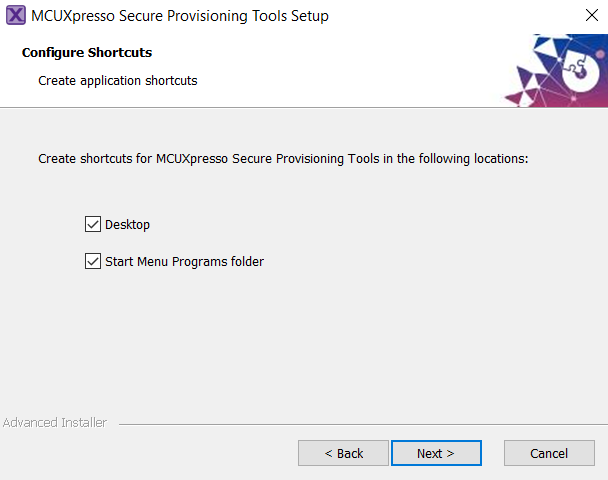
Configuring shortcuts#
On the Ready to Install page of the wizard, select Install.
The setup begins the installation.
Note: If you want to review or change any of your installation settings, click Back. Click Cancel to exit the wizard.
The installer prompts you when the installation completes.
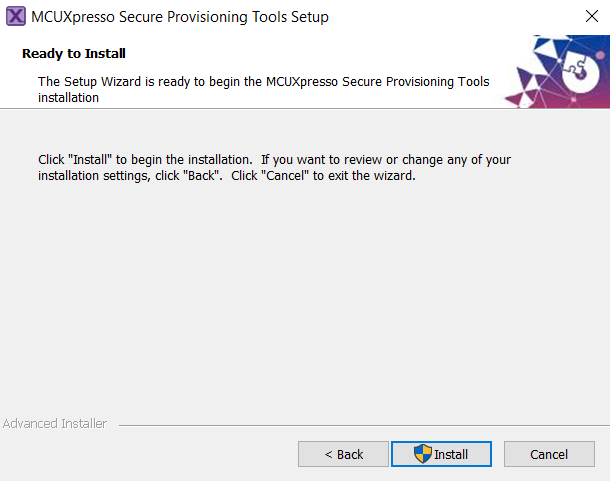
Ready to install#
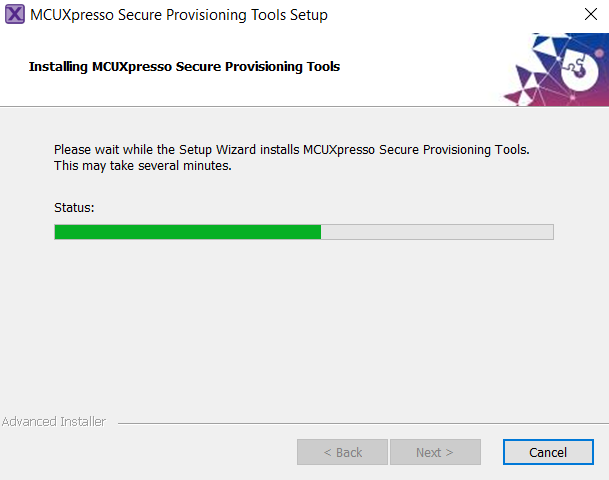
Installing MCUXpresso Secure Provisioning Tool#
Click Finish to close and exit the setup wizard.
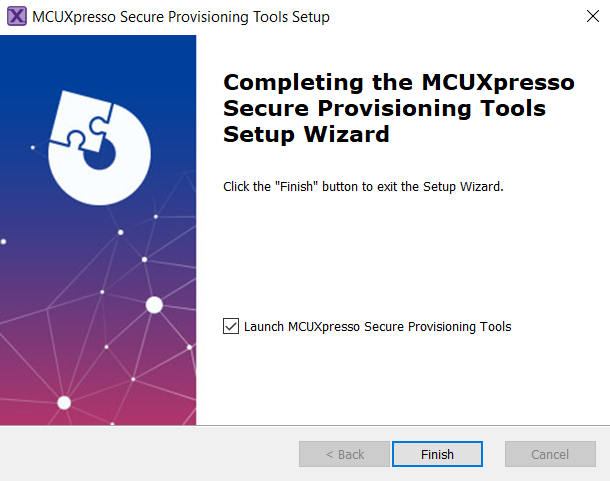
Completing installation#
To start using SEC, run the tool from the desktop shortcut on the desktop or from the Start menu. You can also navigate to the <product installation folder>\bin\ folder and launch the
securep.exeor launch the shortcut in the <product installation folder>.
Windows CLI#
It is possible to install the SEC tool using the command line. In this case, use Run the installer with the following parameters: start /wait
MCUXpresso_Secure_Provisioning_v<version>.exe /exenoui /qn
MacOS#
To install SEC as a desktop application on a local host, perform the following steps:
Visit the NXP website to download the SEC installer for MacOS. Based on your computer, select either an installer for an Intel or Apple M processor.
Double-click the
MCUXpresso_Secure_Provisioning_<version>.pkgto start the Install MCUXpresso Secure Provisioning Tool wizard.
Note: When you try to open the MacOS installer, you may receive an error. To avoid it, manually select the option Mac App Store and identified developers in the Security & Privacy menu.
On the Introduction page, click Continue.
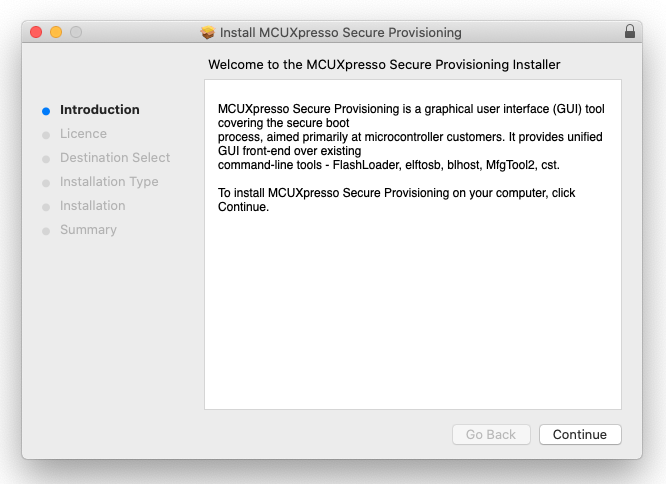
Introduction#
On the Software License Agreement page, click Continue.
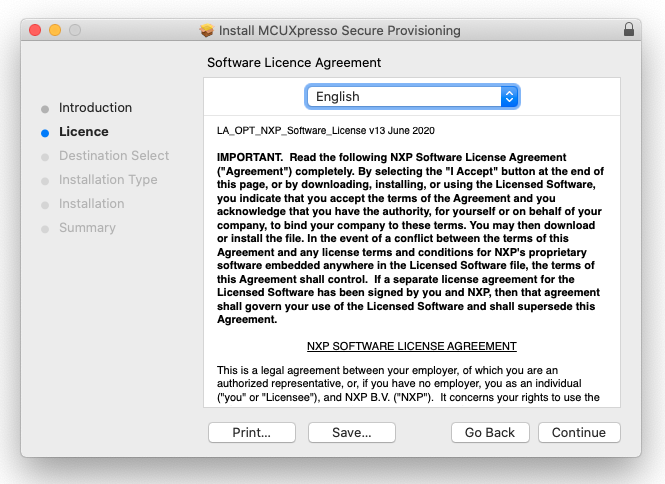
Software license agreement#
Confirm that you have read and agreed to the terms of the Software License Agreement by clicking Agree.
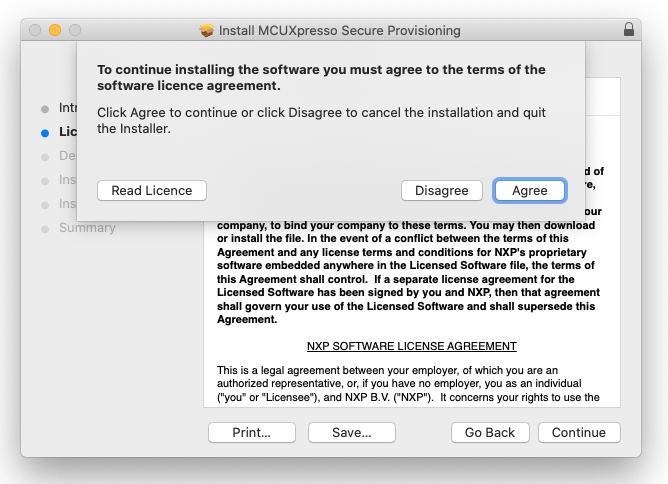
Accepting software license agreement#
On the Destination Select page, click the green arrow to select the installation folder, and once done, click Continue.
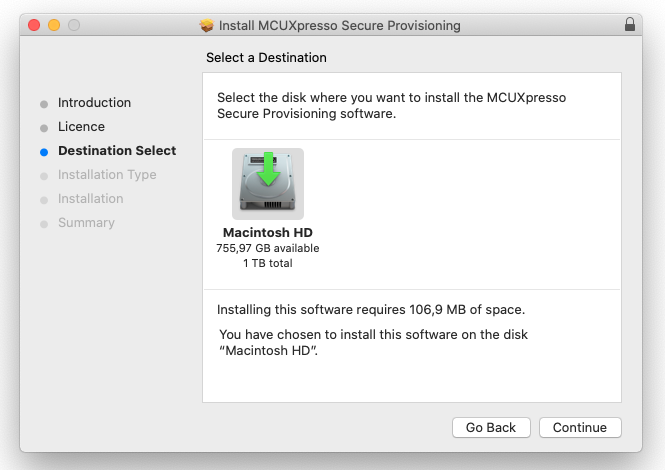
Select destination#
On the Installation Type page, click Install.
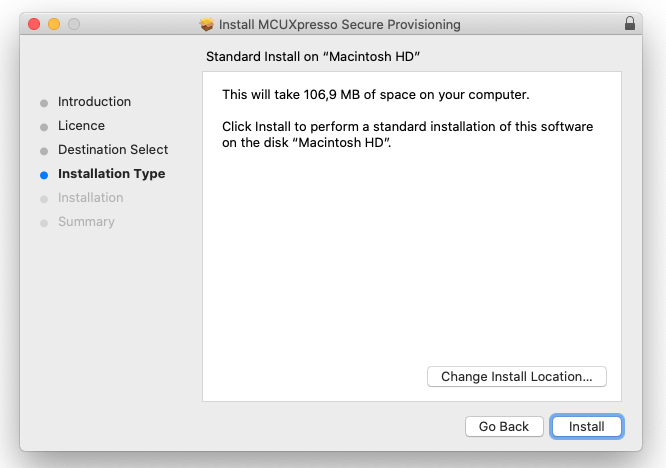
Installation type#
Type in your login credentials to continue with the installation and click Install Software.
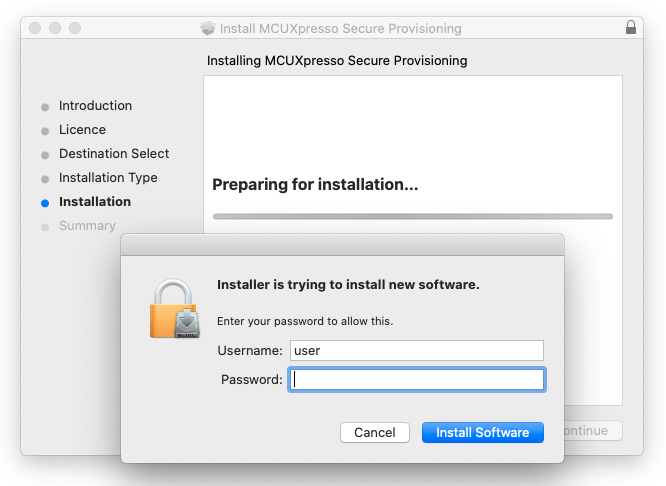
Install software#
Click Continue.
Unless errors are reported, the Summary page confirms that the installation was completed successfully.
On the Summary page, click Close.
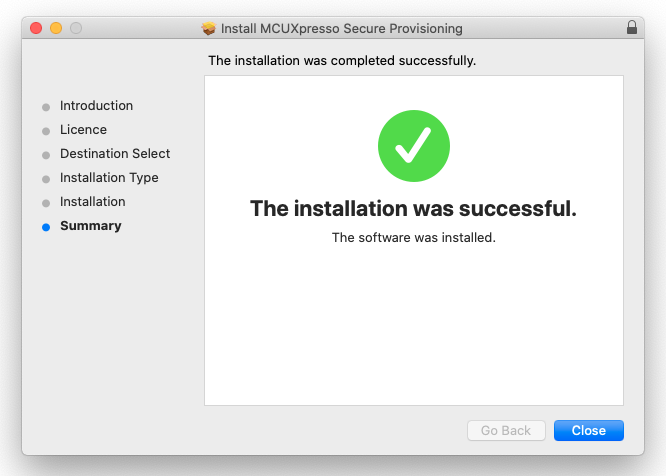
Summary#
Enabling USB connection on MacOS#
During the first connection to the target by USB, MacOS X Catalina blocks the access to USB HID devices as a security measure and the operation will fail with error. In MacOS 13 (Ventura), this works differently and these steps are not needed.
Perform the following steps to enable USB connection:
In the OS security alert message box, select Open System Preferences.
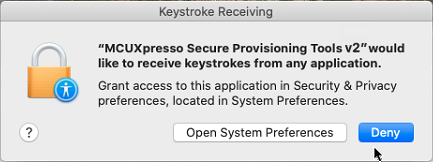
Open System Preferences#
Unlock Privacy preferences to enable changes.
Select MCUXpresso Secure Provisioning <version>, confirm, and quit the application.
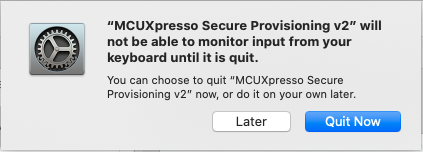
Confirm change#
Lock Privacy preferences.
If the application was not closed, close it manually.
Start the application and proceed with the operation.
Linux#
Installation of SEC on Ubuntu can be done in the Terminal.
Visit the NXP website to download the SEC installer for Linux.
Open the terminal and change the directory where the installer is downloaded, install using dpkg with sudo.
$ cd ~/Downloads
$ sudo dpkg -i ./mcuxpresso-secure-provisioning-<version>_<architecture>_<os-version>.deb
If the command executed with sudo is successful, the setup will install the SEC in the dedicated folder /opt/nxp/.
Note: SEC depends on other packages that has to be installed in advance:
$ sudo apt install libhidapi-dev libsdl2-2.0-0
Note: For trust provisioning, additional packages are necessary for the Smart Card access:
$ sudo apt install libpcsclite1 pcscd pcsc-tools
Uninstalling#
Windows#
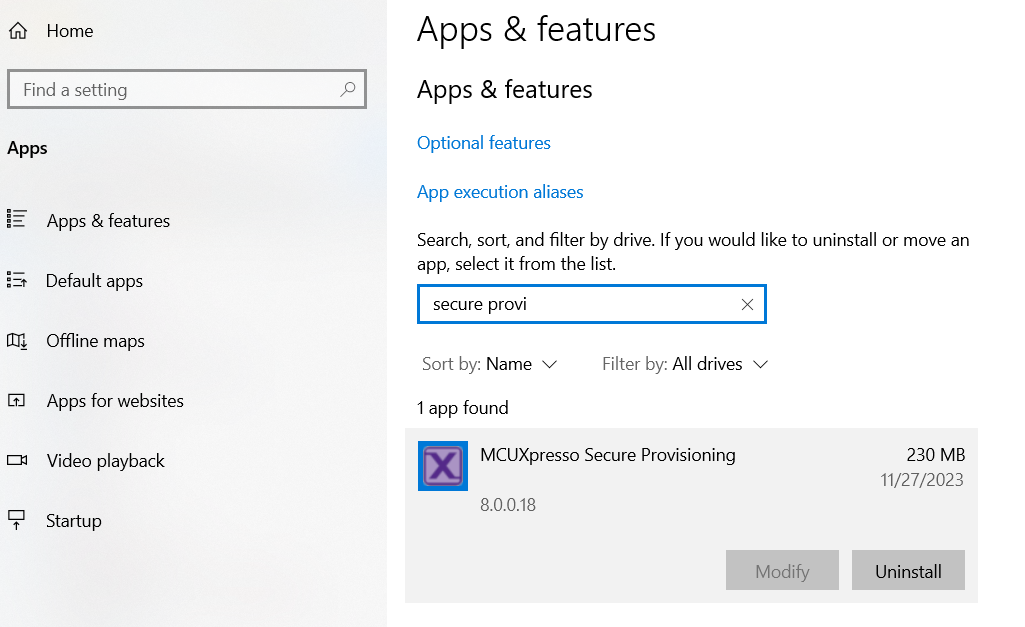
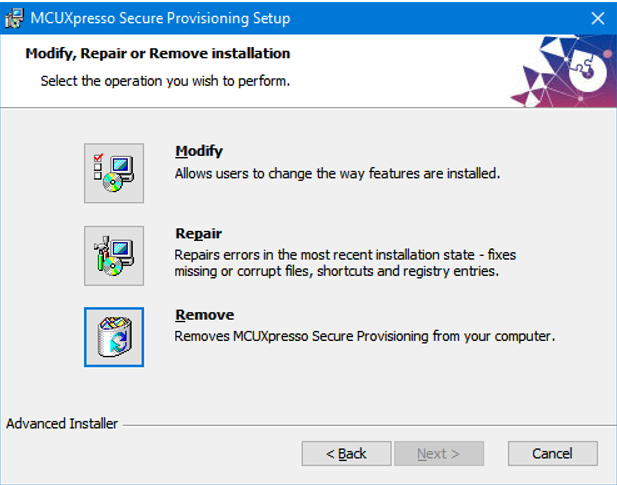
Secure Provisioning Tool can be uninstalled in the following ways:
MacOS#
Secure Provisioning Tool can be uninstalled by using Finder, navigating to Applications, and moving MCUX_Provi_vX into the Trash.
Linux#
Secure Provisioning Tool can be uninstalled by using the Debian package manager.
In the Terminal you can get the list of secure provisioning tools with the package names:
$ dpkg --list "mcuxpresso-secure-provisioning*"
Desired=Unknown/Install/Remove/Purge/Hold
| Status=Not/Inst/Conf-files/Unpacked/halF-conf/Half-inst/trig-aWait/Trig-pend
|/ Err?=(none)/Reinst-required (Status,Err: uppercase=bad)
||/ Name                                    Version      Architecture Description
+++-=======================================-============-============-====================================
rc  mcuxpresso-secure-provisioning-tools-v1 1.0.1        amd64        MCUXpresso Secure Provisioning Tools
rc  mcuxpresso-secure-provisioning-v2       2.0          amd64        MCUXpresso Secure Provisioning
rc  mcuxpresso-secure-provisioning-v2.1     2.1          amd64        MCUXpresso Secure Provisioning
ii  mcuxpresso-secure-provisioning-v3       3.0          amd64        MCUXpresso Secure Provisioning
ii  mcuxpresso-secure-provisioning-v3.1     3.1          amd64        MCUXpresso Secure Provisioning
ii  mcuxpresso-secure-provisioning-v4       4.0          amd64        MCUXpresso Secure Provisioning
Now the desired version can be uninstalled:
$ sudo dpkg -r mcuxpresso-secure-provisioning-25.03
Several versions can be uninstalled at once:
sudo dpkg --remove mcuxpresso-secure-provisioning-v2 mcuxpresso-secure-provisioning-v2.1
When additional packages have been installed for TP, you might consider to remove them as well:
$ sudo apt remove libpcsclite1 pcscd pcsc-tools
Remove configuration files#
The user preferences are stored in the folder <user home>\.nxp\secure_provisioning_<version>\ and are not removed by uninstalling the product. These folders can be removed manually. For more details about preferences, see Preferences.
Remove restricted data#
The restricted data are installed in the folder <user home>\.nxp\secure_provisioning_restricted_data\ and are not removed by uninstalling the product. These folders can be removed manually.